
From summer houses and holiday homes, through to award-winning sustainability projects, cedar shingles are becoming an increasingly popular roofing material. Marley Eternit has put together a step-by-step guide to show contractors how easy it is to create a stunning shingle roof
The natural timber aesthetic and sustainability benefits of cedar shingles mean they are growing in popularity for a wide range of different roofing projects. Although often thought of as a specialist material, with the right tools, shingles are actually very easy to fit and can be done by any roofer.
However, because they are a close-fitting roof covering, the way that you install shingles and the type of ventilation required, will depend on what type of underlay you use – non-breathable (traditional) or breathable (vapour-permeable).
The following step-by-step features Marley Eternit’s Western Red Cedar Shingles, together with the ShingleFix staple system and gives installation details for two different underlay methods:
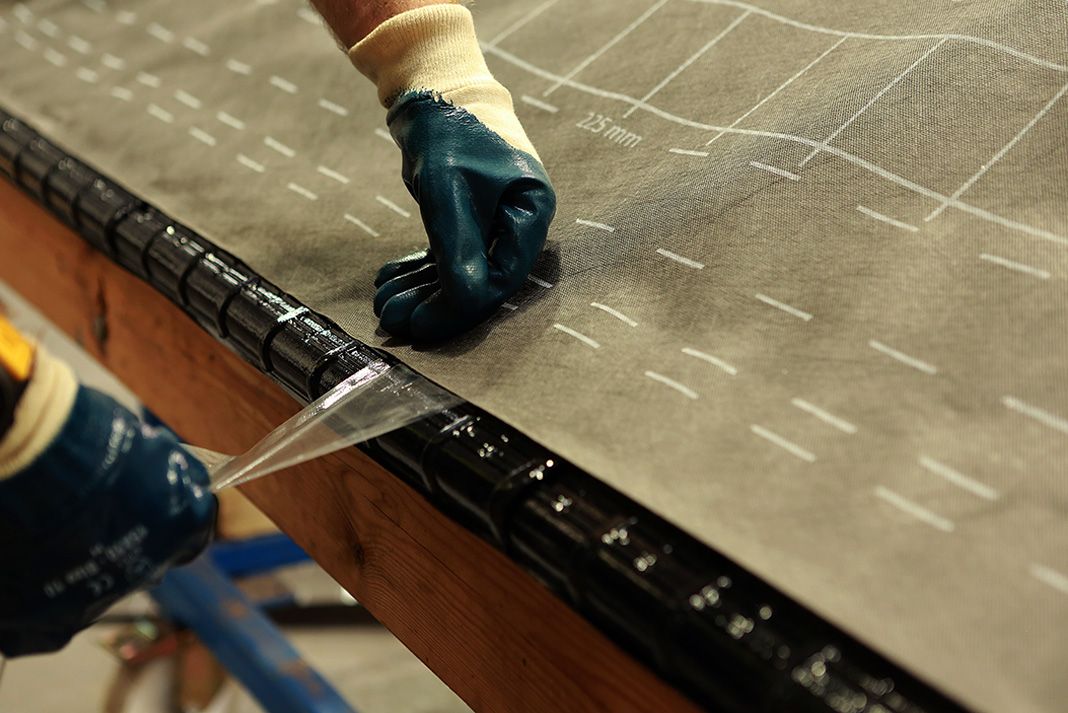 Step 1a – Non-breathable underlay (black) with 25mm eaves vent system
Install continuous rafter roll, over fascia ventilator and felt support tray, to direct airflow below underlay into the roof space. Dress underlay down to bottom edge of felt support tray and fix using self adhesive tape.
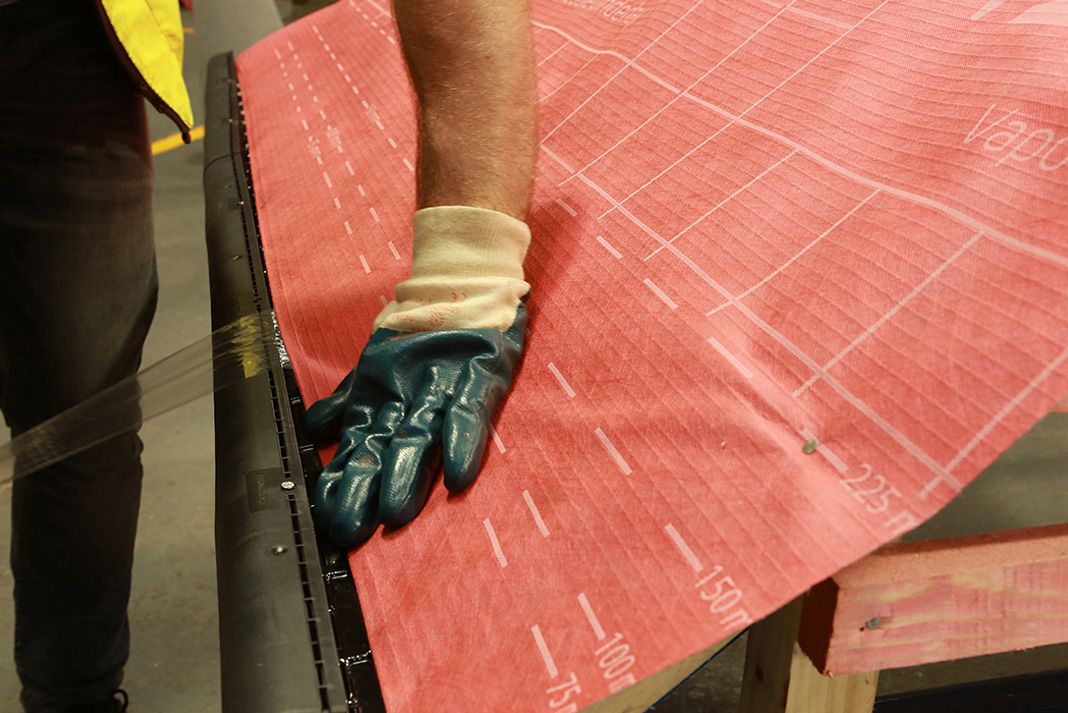 Step 1b – Vapour permeable underlay (red) with 25mm eaves vent system
This method does not require a continuous rafter roll. Install felt support tray first and fix the over fascia ventilator over the top to direct airflow in the batten space, above the underlay and below the slates. Dress the underlay down to the bottom edge of the felt support tray, behind the over fascia ventilator and fix using self adhesive tape.
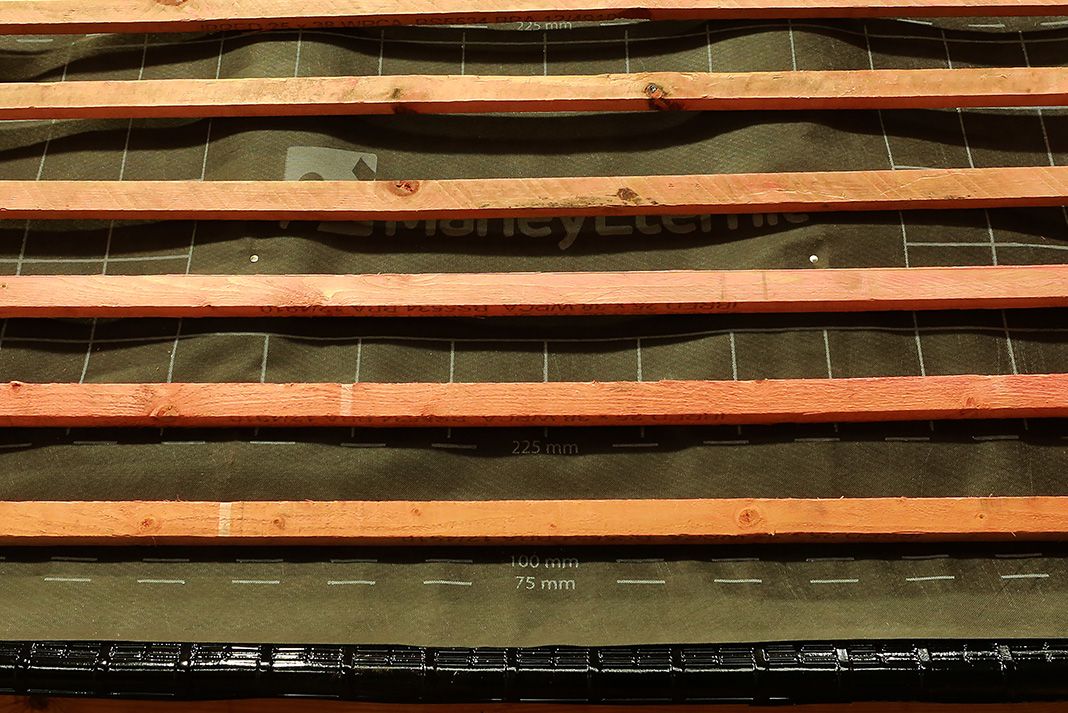 Step 2a – Non-breathable underlay – battens
Non-breathable underlay does not need to be counter battened. The position of the first batten should be the batten gauge, plus half the thickness of the batten. The batten gauge thereafter is based on the pitch of the roof.
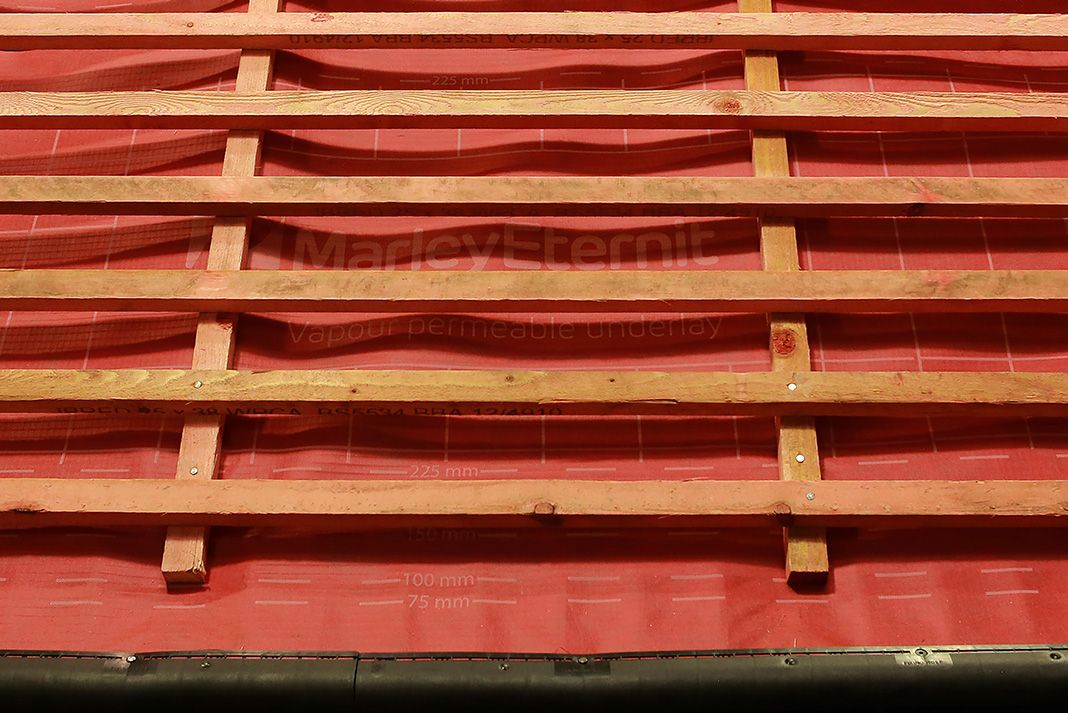 Step 2b – VP underlay with counter battens
Vapour permeable underlay needs to be counter battened to allow ventilation of the batten space above underlay and below shingles. The position of the first batten should be the batten gauge, plus half the thickness of the batten. The batten gauge thereafter is based on the pitch of the roof.
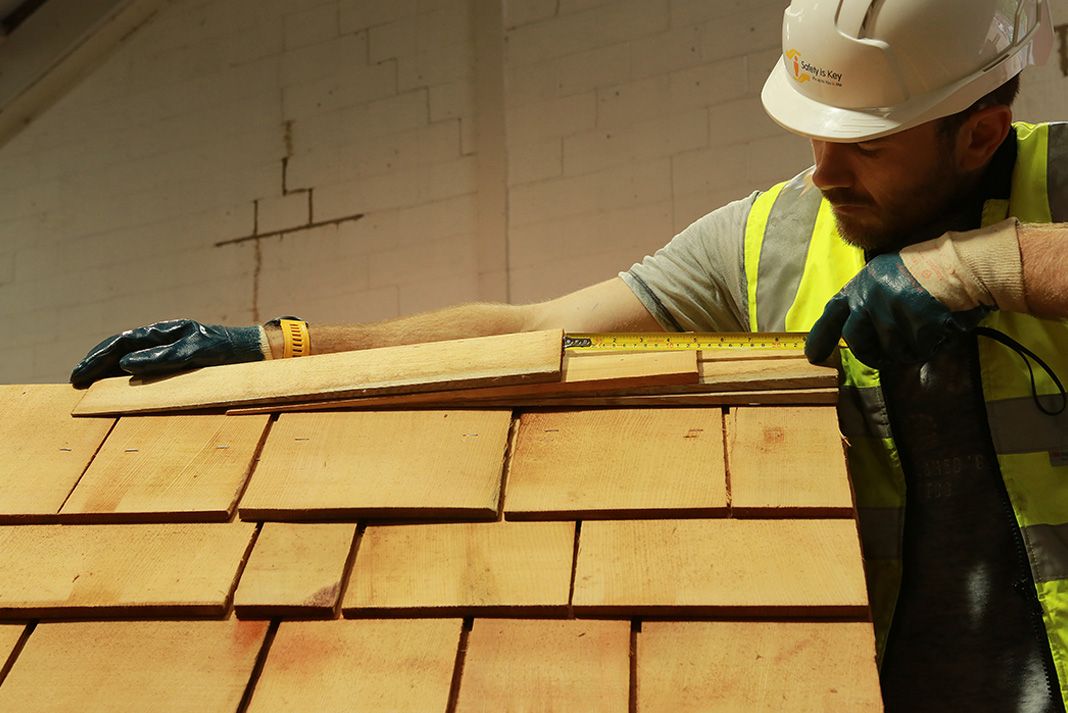
Step 3 – Setting out
When setting out the first course, care should be taken to ensure there is a minimum overhang of 38mm at the verge and either a 38mm overhang at the eaves, or if a gutter is to be used, at least the centre line of the gutter. A double course is required at the eaves and a broken bond pattern should be maintained.
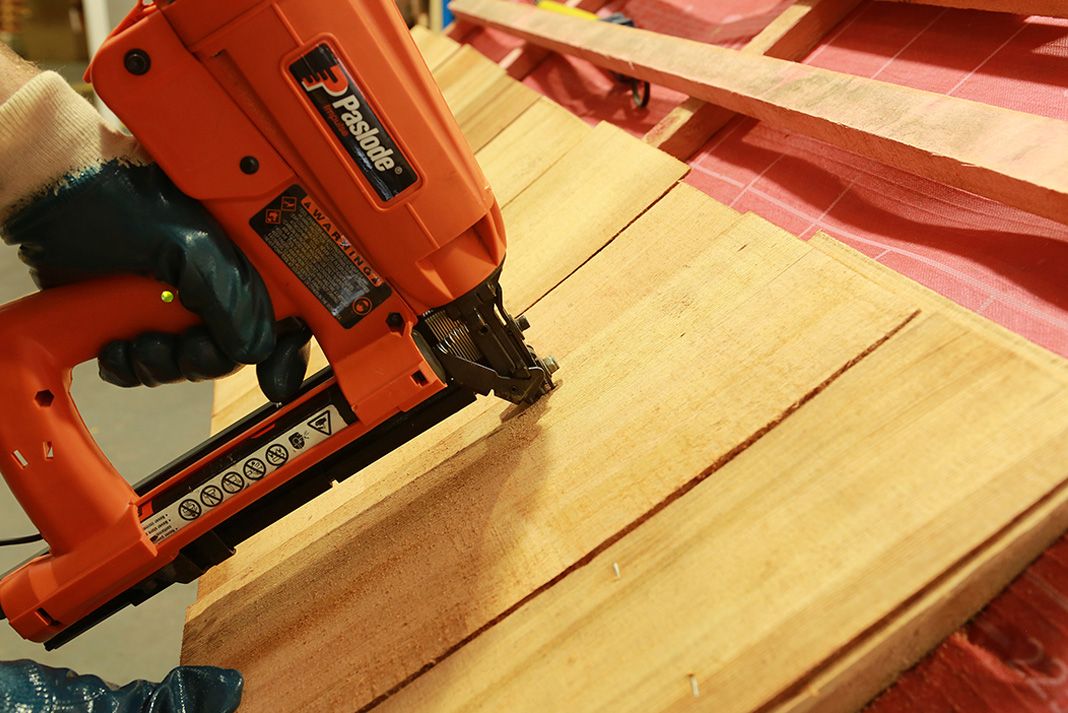 Step 4 – Fixing
Shingles should be twice nailed or stapled. You can use a 31mm x 1.8mm stainless steel ring shank nail, but a much quicker method is to use the ShingleFix staple with a Paslode gun. Fixings should be positioned 19mm in from the edge of the shingle to avoid splitting and 38mm up from the butt of the course above.
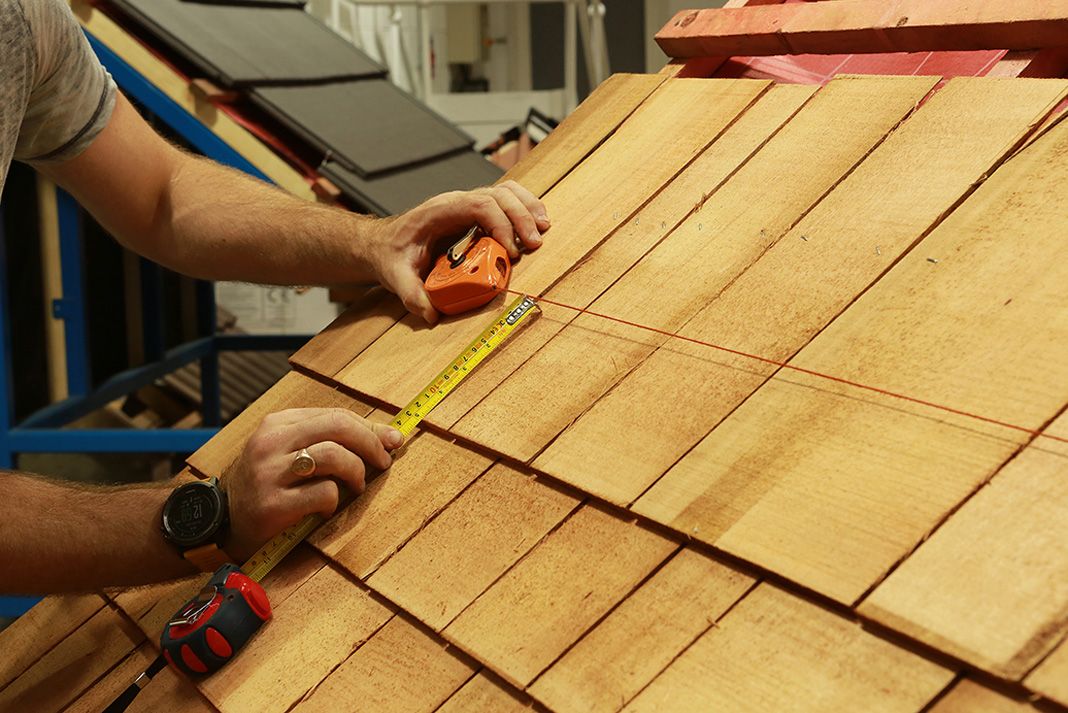 Step 5 – Installation
As there will be no visible roofing batten during the installation, use a chalk line to highlight the batten position to aid nailing/stapling in the correct position. Ensure the broken bond pattern is maintained throughout the roof and a 5mm gap is left between each shingle.
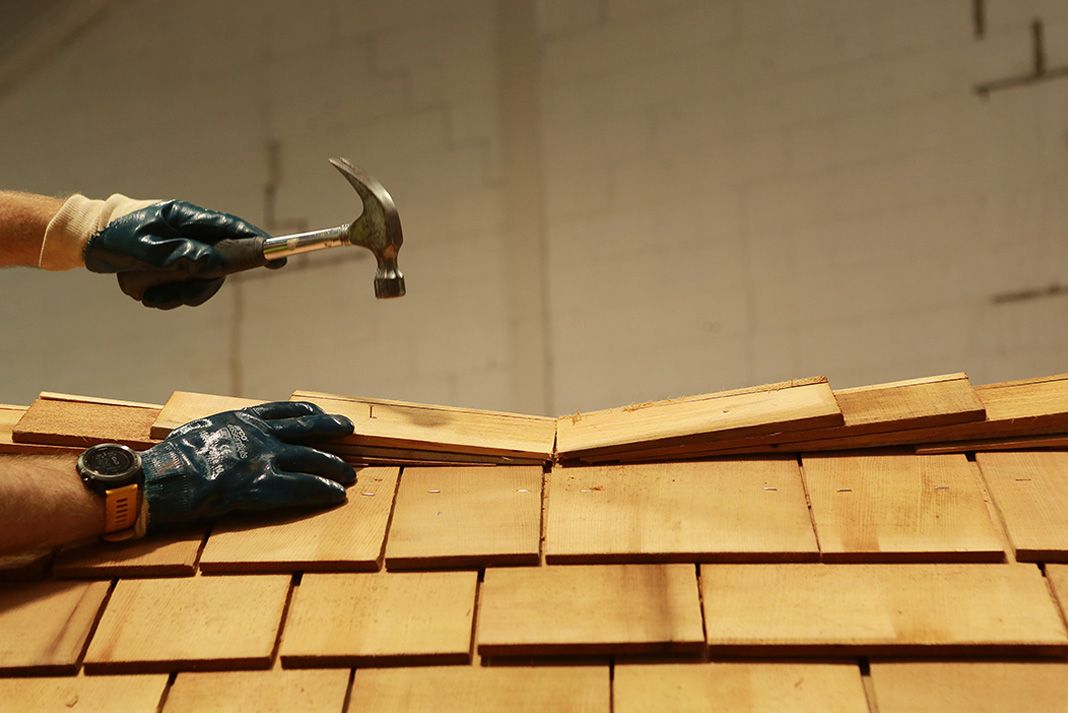
 Step 6 – Ridges
When you reach the ridgeline, you will need to cut the shingles to maintain the 125mm gauge – the shingles can be cut with a hand saw or by using a Stanley blade to score them. A double ridge course is required at the start of both verges and these should be fixed with a 45mm x 2.65mm nail, due to the thickness of shingles underneath.
 Step 7 – Finishing touches
Use the same gauge as the shingles at the ridge to give a more uniform appearance. This means ridges may need to be cut when they meet at the central point. To speed up installation, use pre-formed hips and ridges.
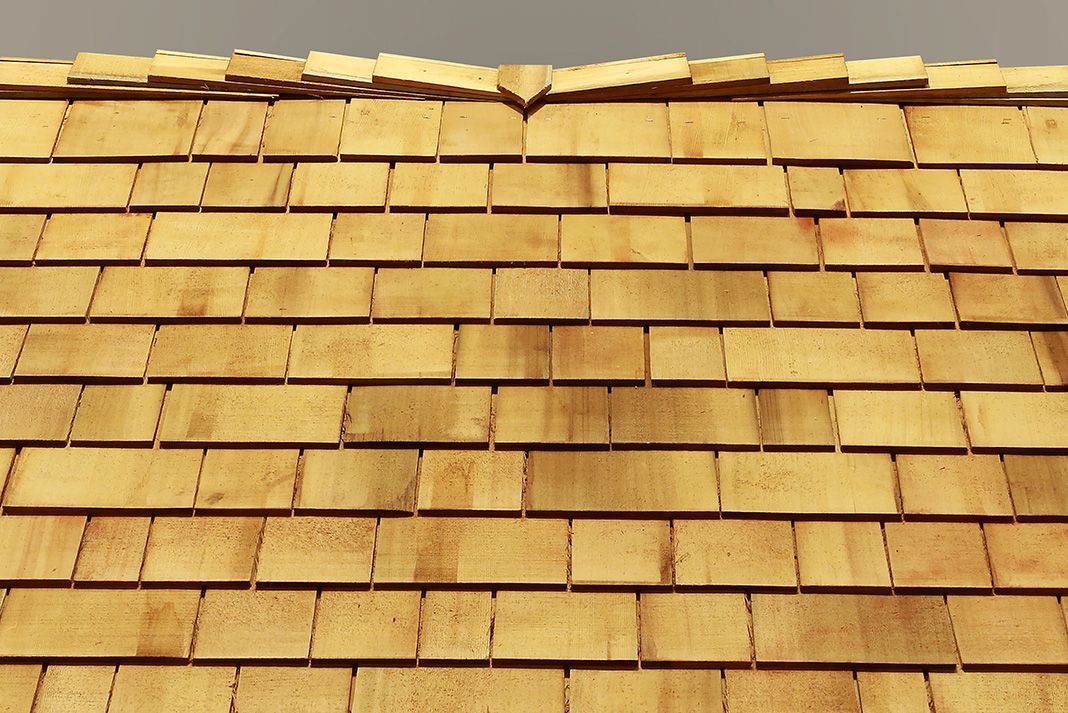 Step 8 – The complete shingle roof.


